
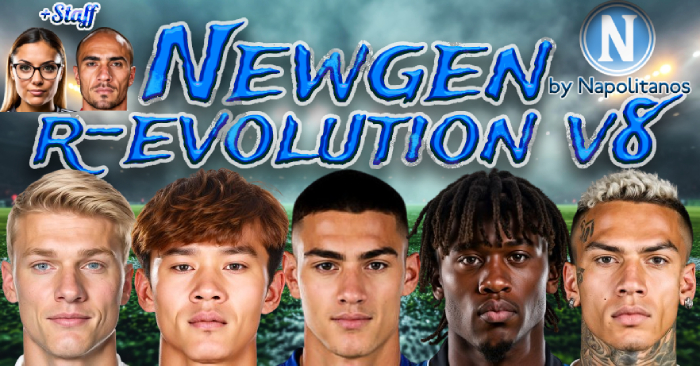
The faces are not only generated by AI but also photoshopped by me for more unique results.
Different Nationalities,races,ages and types of cut-out faces with continuous quality improvements and very high level of realism.
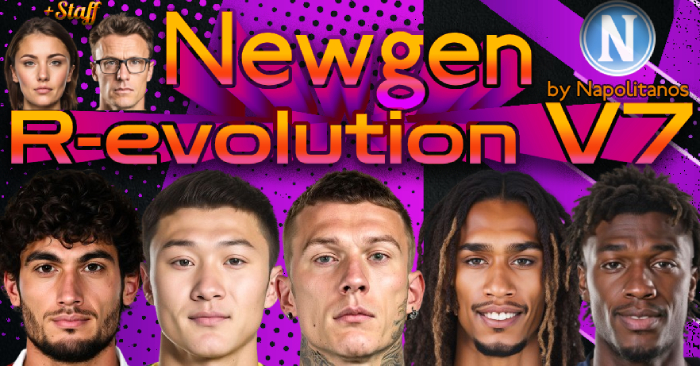
Now including Staff faces, both mens and womens.
Photos size is always 250x250 (except a very small number of them who are a little smaller.)
Download each version
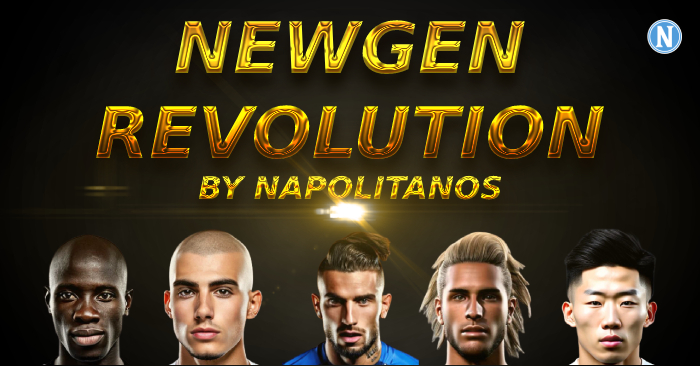
V1 - includes 758 faces
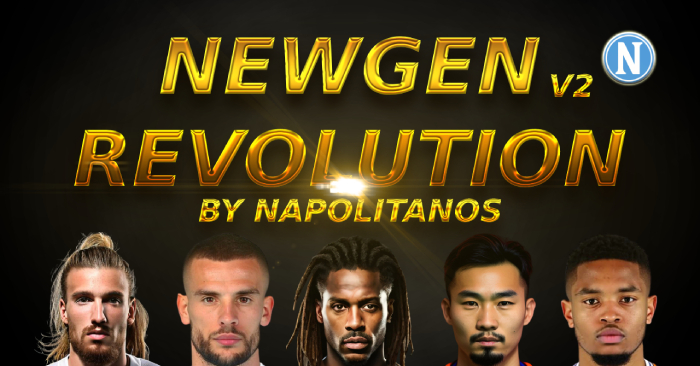
V2 - includes 665 new faces + New Mixed race folder
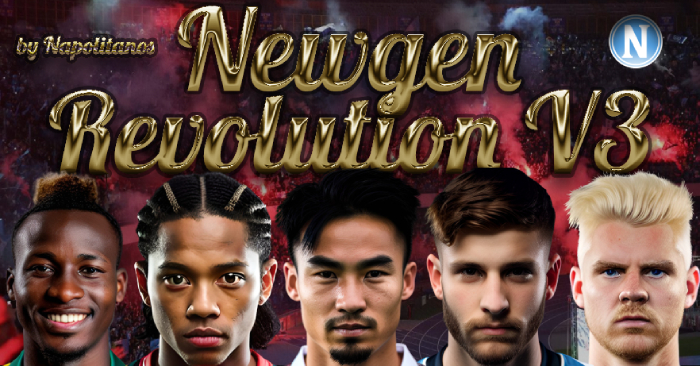
V3 - includes 680 new faces + New Oceanians folder
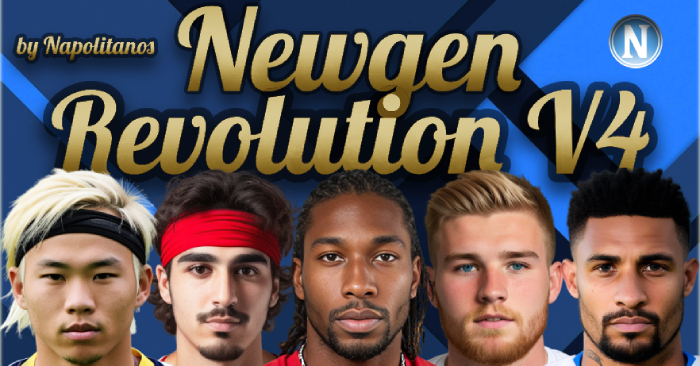
V4 - includes 902 new faces
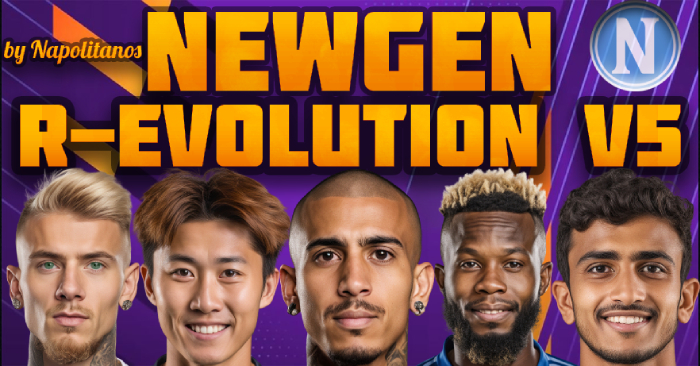
V5 - includes 910 new faces + New Staff Folder
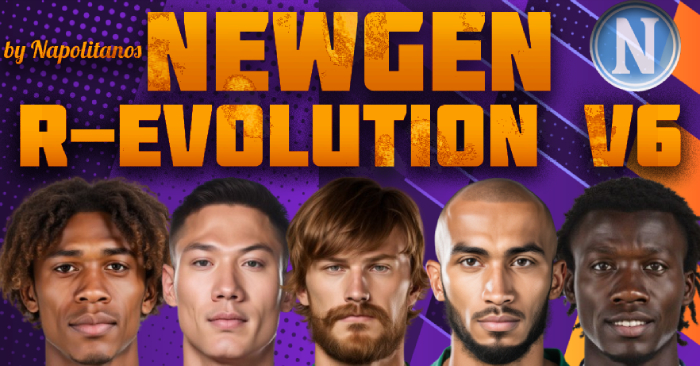
V6 - includes 535 new faces
V7 - includes 597 new faces
V8 - includes 700 new faces, generated and photoshopped
Or download all in once here :
Newgen Revolution Megapack
NOTE : It is not necessary to download the Megapack if you have already downloaded versions 1-8 one by one.
If you downloaded the megapack previously select ''Replace All'' when you unzip to your existing Newgen Revolution Megapack folder
In game look

Previοus Versions thumbnails
Instructions with new (r-) way
Step 1 - Make sure that "Show screen ID in the title bar to assist skinning" is ticked on the Preferences Menu.Step 2 - Downloand and place the ''Newgen Revolution VX'' folder on your computer's desktop or wherever you find it most accessible.
Step 3 - Create a folder named "newgen faces" in this path:
Windows - Documents/Sports Interactive/Football Manager 20XX/graphics/
MAC - Users/Username/Library/Application Support/Sports Interactive/Football Manager 20XX/graphics
Step 4 - Open ''Newgen Revolution VX'' folder, copy and paste the config file into ''newgen faces'' folder. After that copy and paste the photo you like in the same folder.
Step 5 - Rename the (face photo) file with the ID of the newgen. (for example rename the euro40 to r-2002XXXXXX).
Step 6 - Open the config file and copypaste the new ID ''r-2002XXXXXX'' two times. The line looks like this :
<record from="r-2002112149" to="graphics/pictures/person/r-2002112149/portrait"/>.
Step 7 - Every time a new face is added to the folder you will need to copy and paste into the config to create a new line and replace the IDs
Step 8 - Save config file, open the game, clear cache and reload skin.
If you do it once it will become a very easy and quick process.
FOR EXISTING CONFIG FILE - TO MAKE FACES REWORK FOR 24.2 Update
Step 1- Download Notepad++.
Step 2- Open config file inside your newgen faces folder with Notepad++ (use this as the main tool for this kind of files, instead just windows Notepad. Change it with right click and open with...then select Notepad++ and tick the box ''use always this app to open .xml'' (or something like that for every language).Click OK and from now the XLM files like configs always opens with Notepad++
Step 3 - You have now open the config file with Notepad++. At the top of your screen select search/find. a new smaller box opens. Click on Replace. Now you have to write in ''Find what :'' the number 200 and in ''Replace with'' r-200. Now click on ''Replace All''.
This automatically replace every ID to the right way. You can also try the same method but not with 200. ''Find what:'' for ''person/'' and ''replace all'' with ''person/r-''.
Step 4 - Now you need to rename every photo in your ''newgens faces'' folder from 2002XXXXXX to r-2002XXXXXX.
Download Bulk Rename Utility install the app and open it. Search for your newgens faces folder, most common path is Windows - Documents/Sports Interactive/Football Manager 2024/graphics/newgen faces or whatever you named the folder, click actions/select all and replace again ''200'' with ''r-200''. Hit Rename at bottom right button, click OK in the ''warning box'' and all your photos now are matching with the ID's inside the config file.
Step 5 - Open FM, go to preferences,cllear cache and reload your skin.
NOTES : Mainly newgens ID's starts with 200. If you use the faces for real players/staff *(black shadow pictures in game are real humans with differrent kind of ID's) you have to rename ID's and photos in the same way but maybe manually.
All you need is the steps above. Same method possibly works for NewGan tool. SI Foroum, Zealands Discord and Newgan main article may helps you better here.
YOU DONT NEED TO DOWNLOAD AGAIN MY PACKS IF YOU ALREADY HAVE THEM. I DIDNT CHANGE ANYHTING IN MY LINKS FOR 24.2
Instructions for use with NewGan manager tool and other facepacks
To use faces from both mods with the NewGan Manager, users will need to -1. Download this facepack and FMUGens facepack (and the updates if you want them).
1a. Download NewGan from fmscout
2. Put the "FMUGens MEGAPACK" folder into graphics -> faces (create "faces" folder if you don't have one). Delete the config.xml provided with FMUGens.
You will not use the config.xml file from either mod, you will be creating your own with NewGan Manager.
3. Drag the individual photos from this mod into their respective Nationality folders provided in the "FMUGens MEGAPACK" download.
Example: Photos from this mods Africans folder into FMUGens Africans folder, photos from this mods Asians folder into FMUGens Asians folder, ect.
4. Do the usual in-game NewGan .rtf file setup and creation.
Heres a Tutorial on that if you've never used NewGan
https://youtu.be/4w2mmwfiAoM?t=141
NewGan requires a shortlist to be made in-game with with a certain view and filter. Both are included in the NewGan download. This tutorial video walks you through it.
Once you have created the .rtf file in-game, launch NewGan and you will be directing it to the "FMUGens MEGAPACK" folder. You will also direct it to the .rtf file you just created.
Then run NewGan just how you normally would, or how that tutorial instructs you too.
The application will now use photos from both mods when creating the config.xml because they are in the same folder! The config.xml file gets crated in the "FMUGens MEGAPACK" folder.
To use NewGan with FMUGens file structure you will NEED TO RENAME TWO FOLDERS IN THE FMUGen MEGAPACK folder.
Rename South America folder to South American
Rename Scandinavia folder to Scandinavian
-------
You can double check if it worked by opening the newly created config.xml in the "FMUGens MEGAPACK" folder. Search the document and see if there are file names from both mods being used in the config.
Example: I moved the files from this mods "Mixed Races" folder into FMUGens "Italmed" folder. When searching the newly created config I see both files names being used, eg. "UP2ITALMED136" and "mix15".
Ex: <record from="Italmed/mix15" to="graphics/pictures/person/r-2002122611/portrait"/>
<record from="Italmed/UP2ITALMED136" to="graphics/pictures/person/r-2002092962/portrait"/>
I hope this helps. Creating your first .rtf file In-Game with the views and filters mentioned in the tutorial video can be confusing at first, but becomes very easy after you do it a couple times.
Just create an unemployed manager in your current save, go to Player Search, and use that tutorial video to create your first .rtf shortlist. Once you are finished with everything, you can reload your most recent save to get rid of the unemployed manager. You can download this instructions here
Credits for the extra instructions to almostmidnite
The FMRTE way
Another one way to use Newgens Revolution megapack (or single version).
You can now download FMRTE 24, follow the instructions and use for free the Facepack Installer feature.
Credits to Azrael for information.


![FM26 Data Tweaks [v3.6 | v5.0]](https://fmdatatweaks.com/wp-content/uploads/fmdt-cover.webp)


Discussion: Newgen R-Evolution V8 Update (+Megapack) - Ultra Realistic AI-Photoshopped facepack
89 comments have been posted so far.
I can't answer for Newgan manager tool problems. Better you have to search the solution in Newgan's page or foroums and topics about Newgan tool use.
You choose the way. Its Newgan way who needs some time to make it work with carefully steps following the instructions, FMRTE way who is the newest or the most simple one to make a folder and rename manually the pics of your taste using the ID's, giving faces to your team's newgens only (this is what im doing personally and the main target when i start this project back in time).
You mean if its possible to merge them together? Yes you can by following the instructions in the article.
Am I able to merge this face pack with the zealand facepack for newgan purposes?
Thanks
The megapack includes all 7 versions and . If you download it for the first then yes. Better download the Megapack. Just have in mind the quality of the first 4 versions are lower than 5-6-7 as you can see from the thumbnails.
No i don't. FMRTE i think its not free, you can download it, watch every detail of the game, but you can't change anything if you don't buy it.
If you have information and guide for that you can write it here or sent me a message to give a look by myself.
Yes. They dont change that again.
Theres another way to do it with Notepad. Just replace ''person/'' with ''person/r-'' inside the config file.
Outside of config and inside the same folder's pictures its clear for everyone who used my facepack if carefully reads my instructions for set up folder in the right way. There is no way to replace a newgen face without knowing his ID and how it looks.
Real Players/staff without pics may not have ''200'' as their three first numbers of their ID's. Here you are right, i have not in my mind this kind of confusion for some people cause i never use a ''fake'' face for the missing facepacks pictures. Its something i have to make a note. Thanks for your advice i am gonna modify it soon.